
The fastest way to add a case study is to copy one you’ve already got. The layout stays consistent, and you just swap in the new story.
1. Find your case studies
Look in the menu down the left of your dashboard. Case studies are usually under their own name, like Projects, Portfolio or Case Studies. On some sites they’re Posts in a category.
2. Copy an existing one
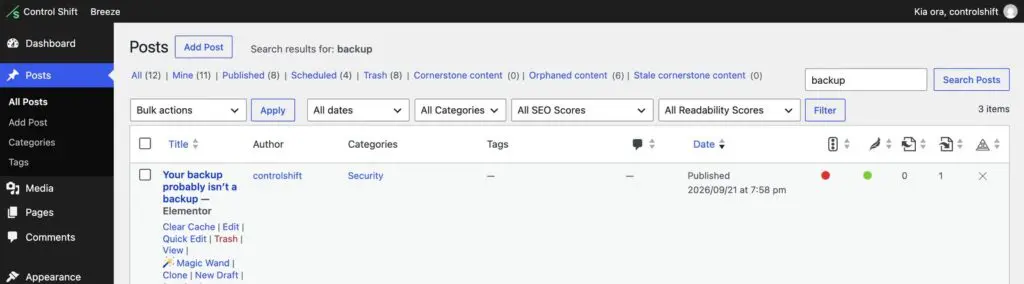
Hover over a case study in the list and click Clone or New Draft. You’ll get a copy saved as a draft, so nothing changes on your website yet.
3. Make it the new project
- Change the title, and the slug (the end of the web address) so it matches.
- Click Edit with Elementor (or your page builder) and replace the words and photos.
- Set the Featured image on the right of the editor. This is usually the photo shown on your projects page or homepage grid.
- Tick the right category, if your site uses them.
4. Publish and check
Click Publish, then look at your projects page to check the new one shows up with the right photo. If you added a page rather than a project, it won’t appear in project grids, so use the right section from step 1.
There’s more on copying in our guide to duplicating a page. If your case studies need something the layout doesn’t have, like a video or a quote, send us a support request and we’ll add it.